Tutorial
Top 4 tips for taking better food & restaurant photos
A step-by-step guide to make your dishes stand out
by Kenny Chung
Tutorial
Top 4 tips for taking better food & restaurant photos
A step-by-step guide to make your dishes stand out
by Kenny Chung
Your food is what sets you apart from everyone else. But you don’t need to be a professional photographer to create mouthwatering images of your food. Here are some simple tried-and-true tips covering the basics – lighting, composition, and more!
Like the saying goes, you eat with your eyes first. Commissioning professional, high quality photos of your business and food will likely be one of the best investments you can make. Not only will you be able to feature the photos on your website, but you can also repurpose them for social media, online directories like Yelp, and for delivery services like Seamless/GrubHub.
However, if you don’t have the budget for a professional photographer, here are some tips for taking great photos:
1) Lighting is 90% of what makes a good photo.
Good lighting, specifically. While dim lighting is great for ambience, it doesn’t lend itself to great or inviting photos. In dark environments, the camera has to work harder to catch details and the photographer to keep things in focus.
While subject lighting is a full book’s worth of instruction unto itself, a good rule of thumb is to use indirect lighting. Take photos during the daytime if possible – near a window and with the sun not pointing directly at your subject. This also means to avoid direct flash. You can use a diffuser for your flash unit or a light umbrella for dedicated lighting. Both of these will prevent your photos from looking harsh or washed out.
If you’re using a DSLR or prosumer camera with manual functions, avoid adjusting the aperture to too wide a setting that would lead to only parts of the dish being in focus. Shutter speed should not be too much a factor with good lighting and a static subject (the only exceptions might be smoke rising off the dish, or bubbles in a drink, but those are fringe cases). Lastly, dial down the ISO because food photos shouldn’t be grainy (again, good lighting will help). Most of the time, the auto (or green) function on the camera should serve your purposes as long as you pre-focus. If you want to get fancy, then I recommend using the aperture-priority mode with a depth of field that keeps the entire dish in focus but blurs any background elements.
If all else fails, most modern smartphones have great cameras that can automatically adjust for lighting. However, most camera phone flashes are still terrible. While not ideal, in a pinch, you can use a two phone setup – one with the flashlight on using a napkin to cover up the light, and the other one to snap the shot; this will probably require two or more people.
Crab claws and oysters at Peche in New Orleans.
2) Take photos of your most popular dishes.
This should be a given. If someone Googles a dish you’re known for, they should be able to easily find an image of it. This gives them an idea of how much food it is, and may also help them decide whether or not they want to order it. In the internet and social media age, people most definitely research restaurants beforehand, so you should take advantage of it. When you post photos on your website (or on Yelp), you should include descriptive captions and also name the file appropriately. This will help search engines to find the images and show them to users when they look specifically for them.
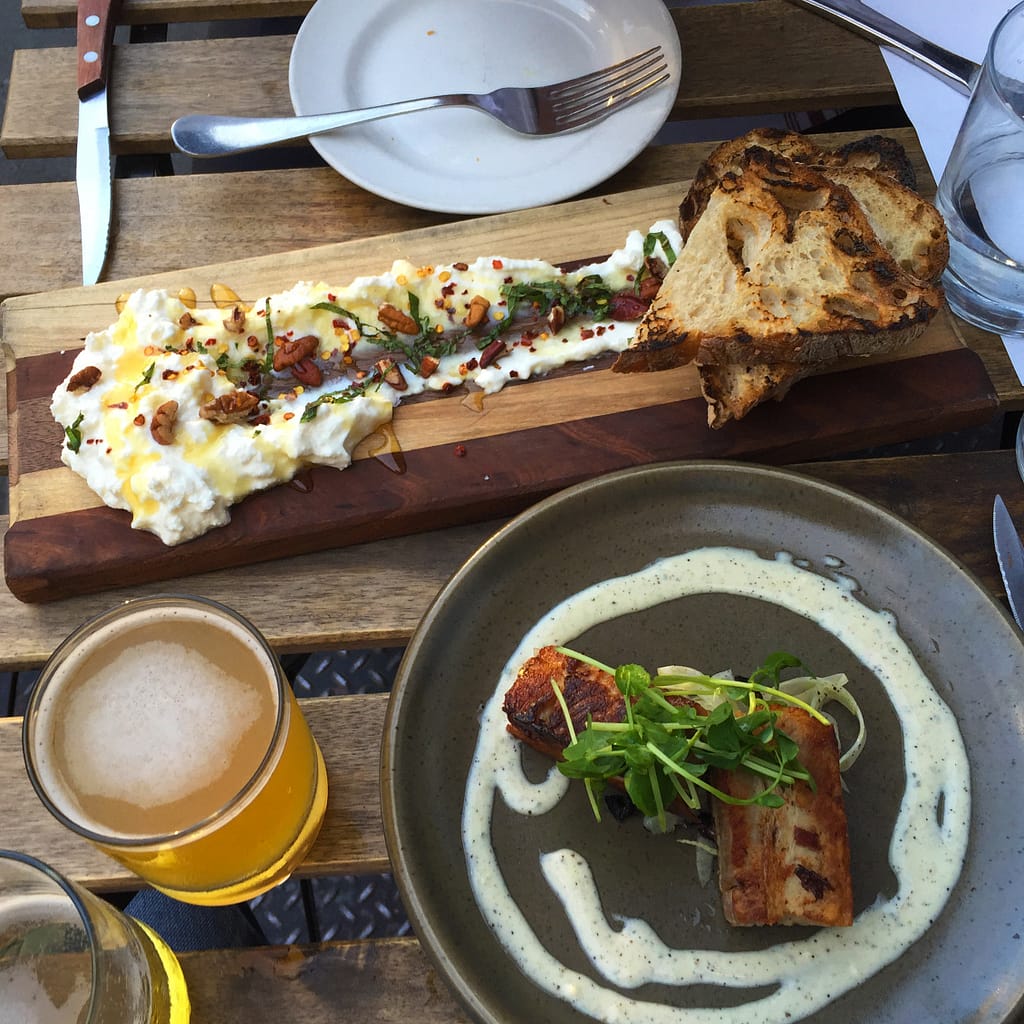
Fresh ricotta and braised pork belly at Monument Lane in New York City.
3) Take photos of your space, including the store front.
Diners like to feel comfortable with their restaurant decisions before sitting down, or even before making a reservation. Photos of the space can convey a lot of information. They can show people how casual or intimate a meal will be. They can help customers spot where the entrance is when they’re driving or walking down the street (this is especially important if the restaurant is located inside a hotel or food hall, for instance). At a glance, they can help people book a space for a party or event if you showcase your private space. And they can also highlight specialty features, like an outdoor space, or a comprehensive whiskey/beer/wine list, or even things like bar games (darts, arcades, board games).
4) Include photos featuring customers.
Nothing makes people want to join in on the fun more than seeing other people having a good time. Smiling customers enjoying their meal or a round of drinks will go a long way to humanize your space and to provide information to patrons that might otherwise be hard to find online. From photos, potential customers can learn about the dress code, and can see if the typical clientele is hip, young millennials, stuffy older business types in three piece suits, or somewhere in between. Of course, most people do not want to be bothered during their meal for a posed photo. To this, I offer two solutions – a soft opening/customer appreciation event, or leveraging photos taken by others. Each of these options will require a more detailed deep dive.
Berkshire pork belly lechon at Purple Yam in Brooklyn, NY.
One last note on food photography…
One last note on food photography. Some foods lend themselves to a wonderful presentation. For example: a brightly colored fresh sashimi platter, a perfectly cooked medium rare steak with a charred exterior; an ice cream cone topped with all the fixins; a bowl of ramen with all the accoutrement neatly arranged on top; a sandwich piled high with more meats than you can count on a lightly toasted sesame baguette.
However, you can do the best plating with all the sauce drizzles in the world, but some meals are simply not photogenic. Stews and soups, for instance, do not photograph well (especially dark ones). Most curries do not look appetizing in photos. Meatloaf, while delicious, is hard to make appealing. A lot of steamed Chinese dishes and dumplings look offwhite and lumpy. Even pizza with sauce on top looks bland compared to those with cheese and/or toppings at the forefront.
This is just the reality, and there’s little you can do. Creative plating, or adding things like a sprig of thyme may seem like a good idea, but you better be sure that if someone orders someone that looks pretty, what comes out to their table is a close visual approximation.
There are some tried and true tips that can help with “ugly” foods. Doing a cross-section of something that would otherwise look monotone and bland (like a chicken pot pie, beef wellington, etc.) will display some contrast. Doing an overhead photo of the entire table will allow you to include some “boring” foods without drawing too much attention to their drabness.
And specifically for simple looking drinks, a common approach is to include ingredients that go into that drink. For a beer brewed with citrus fruit, you can include some oranges and limes next to a Teku glass of the beer. For a cocktail, you can photograph it next to bottles of its constituent parts.